


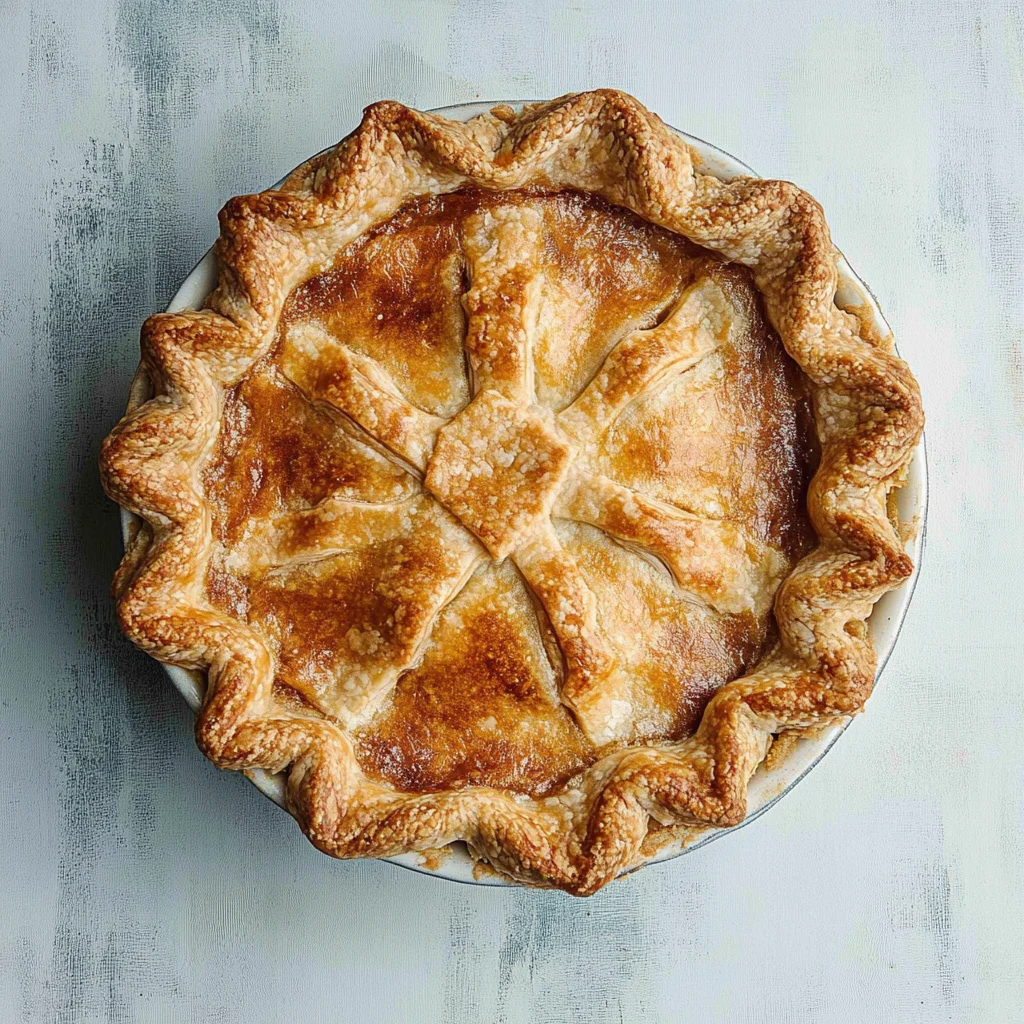
If you’ve ever baked a pie (or dreamed of baking one), you know that the crust is everything. Seriously, it can make or break the whole thing. A perfect crust should be tender, flaky, and just the right amount of buttery. But here’s the thing: pie crusts can be tricky. We’ve all been there—crusts that turn out too tough, too crumbly, or just plain bland. Well, let me tell you, I’ve got the solution: the Crisco Pie Crust Recipe.
I’m talking about the kind of crust that practically melts in your mouth, adds a little golden crunch to every bite, and makes your pies look like they came straight from a bakery. If you’ve ever struggled with pie crusts, trust me—this recipe is your new best friend.
So, let’s make this easy, buttery, flaky pie crust together. Ready? Let’s go!

Why Crisco? Let’s Talk About It
Now, you might be wondering, “Why Crisco?” Well, let me tell you, Crisco has been a go-to in American kitchens for generations. It’s known for its ability to create the flakiest, most tender crusts. The reason? Crisco is made of vegetable shortening, which has a unique ability to create those layers of flakiness we all love.
Unlike butter, which can sometimes make a crust too soft or overly greasy (and let’s be real, butter’s a little pricey these days), Crisco gives you a great balance of texture and taste. Plus, it’s incredibly easy to work with. No wonder it’s been a staple in pie-making since the 1930s!
Crisco shortening has been a trusted ingredient in baking for decades. Unlike butter, Crisco creates a flakier texture, which is perfect for pies, especially for a pumpkin banana loaf or even a savory earl grey cookie filling. The shortening helps reduce the moisture in the dough, creating the delicate layers you need for the best pie crust.
Ingredients You’ll Need
Making a pie crust might seem intimidating, but it doesn’t have to be. This Crisco Pie Crust recipe is super simple and takes only a few ingredients that you probably already have in your kitchen. Here’s what you’ll need:
- 2 ½ cups all-purpose flour – The base of any good pie crust. I always use unbleached all-purpose flour because it gives a nice texture and flavor.
- 1 cup Crisco vegetable shortening – This is the key to a flaky, melt-in-your-mouth crust. Trust me, Crisco is where it’s at.
- 1 teaspoon salt – Just enough to balance out the flavors.
- 6-8 tablespoons ice-cold water – Cold water helps the dough come together without melting the shortening. Ice water is the secret to getting that perfect, flaky texture!
Now that you’ve got everything, let’s get to making this crust!
Step-by-Step Instructions
Alright, let’s walk through this together. It’s honestly way easier than you think.
Step 1: Mix the Dry Ingredients
Start by grabbing a large mixing bowl. Pour in your 2 ½ cups of flour and add 1 teaspoon of salt. Give it a little whisk to mix the salt evenly throughout the flour.
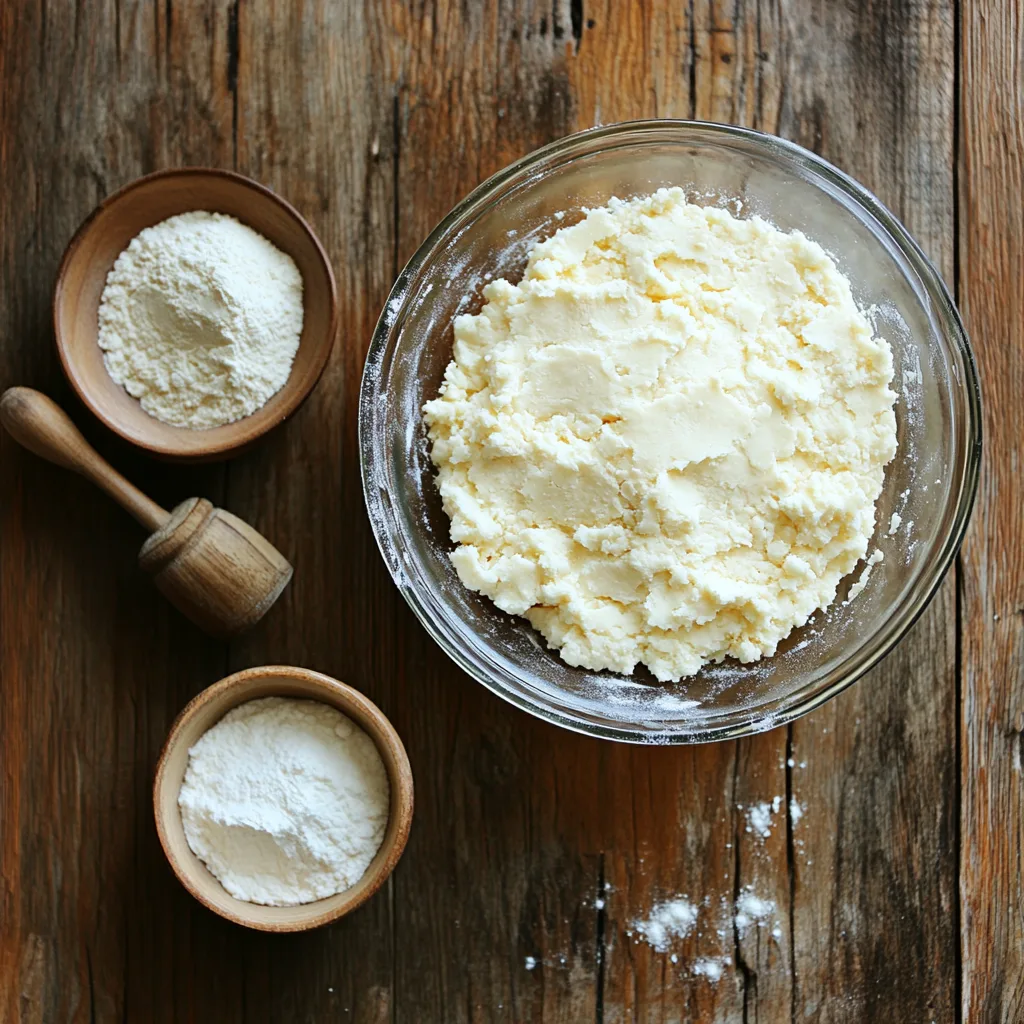
Step 2: Cut in the Crisco
Here’s where the magic happens. Next, grab your Crisco vegetable shortening (1 cup) and use a pastry blender, fork, or your hands to “cut” the shortening into the flour. You’re aiming for small pea-sized chunks. Don’t overwork it—you want the shortening to stay in pieces because this is what will create those flaky layers in your pie crust.
Pro Tip: If you’re having trouble getting the Crisco to mix in, chill the Crisco in the fridge for about 30 minutes before you start. Cold shortening works wonders for a flakier crust!
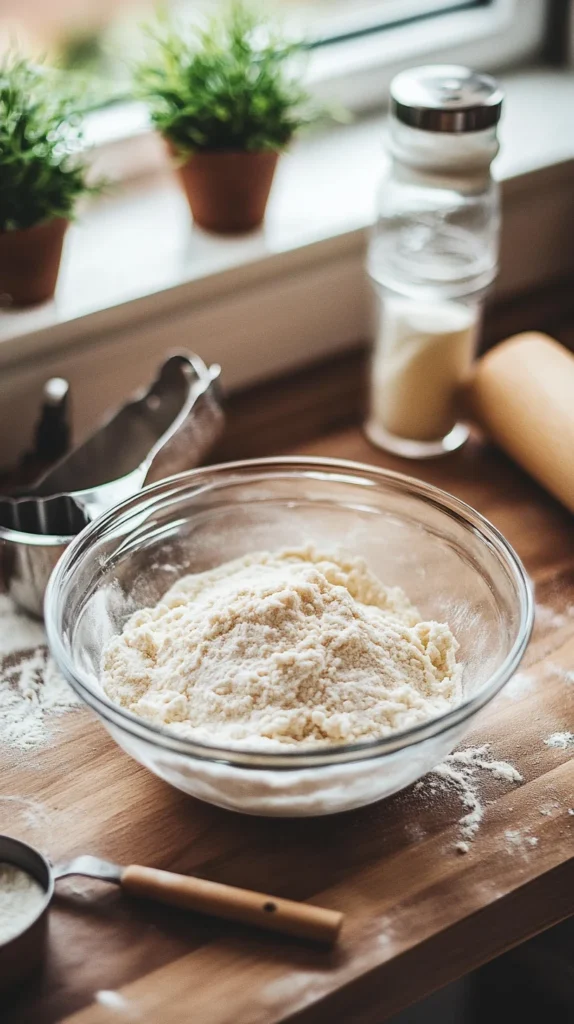
Step 3: Add the Ice Water
Once your shortening is all cut into the flour, it’s time to add the ice-cold water. Start with 6 tablespoons, and stir the mixture with a fork until the dough just starts to come together. If it’s still a little dry, add a tablespoon at a time until it forms a soft dough that holds together without being too sticky.
Pro Tip: If you’ve got a hot kitchen, you can chill the water for a few minutes before adding it. This will help the dough stay cold, which is key to making it flaky.
Step 4: Roll Out the Dough
Once the dough has come together, separate it into two equal pieces (one for the top and second for the bottom crust). Roll each piece into a ball, flatten it into a disc shape. Cover each disc with plastic wrap and chill them in the fridge for at least 30 minutes (or up to an hour).
Chill the dough until the gluten relaxes, straighten, and maximize tenderness in the end crust. It is worth it!
Step 5: Roll and Place in Pie Pan
After chilling, take one of your dough discs and roll it out on a lightly floured surface. Roll from the center out, turning the dough as you go to make sure it doesn’t stick. Roll it out to about 1/8 inch thick—just enough to fit your pie pan.
Once you’ve got the dough rolled out, carefully place it into a 9-inch pie pan, pressing it down gently to fit the edges. Trim the excess dough, leaving about 1 inch hanging over the edges.
Step 6: Fill and Bake
Now for the fun part—fill your pie! Whether you’re going for classic apple, pumpkin, or something more adventurous, your Crisco pie crust is ready to hold whatever delicious filling you’ve got. Just be sure to follow the baking instructions for your pie.
For a double-crust pie, repeat the rolling process for the second disc of dough and top your pie with it. Be sure to cut a few slits in the top crust so steam can escape while baking.
Step 7: Bake and Enjoy
Pop your pie in the oven and bake according to your pie recipe’s instructions. Once the crust is golden brown, remove it from the oven and let it cool slightly before slicing.
Step 8: Serve and Wow Your Guests
Once the pie’s cooled a bit, slice it up, serve it with a scoop of ice cream or a dollop of whipped cream, and enjoy! You just made the perfect pie crust.


Tips for the Perfect Crisco Pie Crust
- Don’t Overwork the Dough: The more you handle the dough, the tougher it’ll get. Gently mix and roll, and don’t overthink it. Trust the process.
- Keep Everything Cold: The colder your ingredients and tools (think chilled Crisco and ice-cold water), the flakier your crust will be.
- Rest the Dough: Chilling the dough before rolling it out makes it easier to handle and ensures that it’ll stay tender.
Why You’ll Love This Crisco Pie Crust
Okay, let’s break down why this Crisco pie crust is the best:
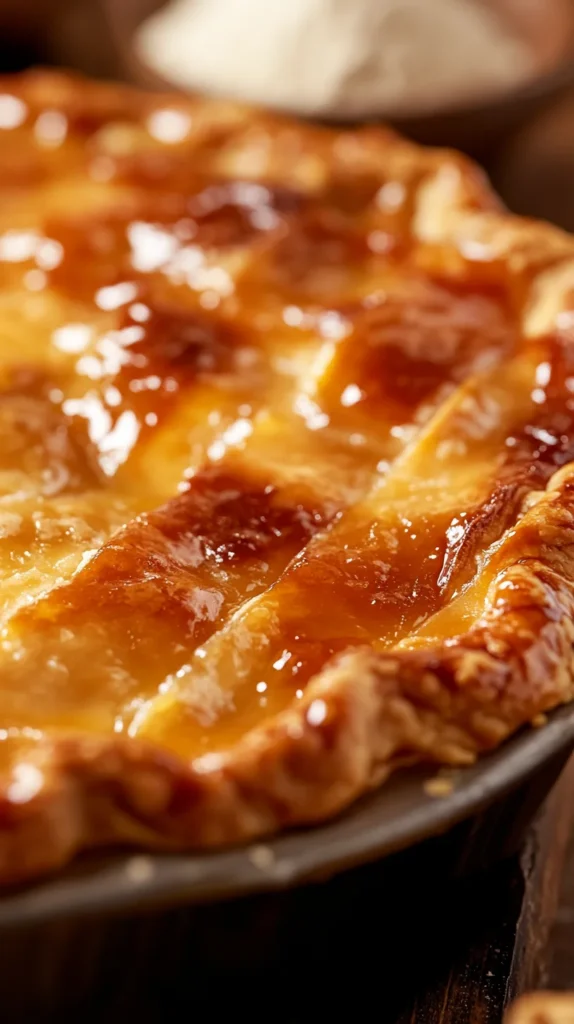
- Flaky Layers: Because of the shortening, this crust is super flaky. You’ll get that perfect, golden crunch with every bite.
- Tender Texture: The dough is soft and tender—not dry or tough like some other crusts.
- Easy to Make: It’s way simpler than you might think, even for first-time bakers.
- Perfect for Any Pie: Whether you’re making a fruit pie, cream pie, or even a savory quiche, this Crisco pie crust is the perfect base.
FAQs :
is pie crust better with Crisco or butter?
It depends on what you’re looking for in your pie crust. Crisco (vegetable shortening) makes a flakier crust because it has a higher melting point, allowing the dough to hold its structure as it bakes. Butter, on the other hand, provides a richer flavor and a slightly more tender texture. Many bakers combine both Crisco and butter to get the best of both worlds—flakiness from the Crisco and flavor from the butter.
Why is my Crisco pie crust falling apart?
A Crisco pie crust can fall apart if the dough is too dry or overworked. This could be due to:
- Too little liquid: The dough needs just enough water to come together. If there’s not enough, it won’t hold.
- Overmixing: Overworking the dough can break down the fat particles, making the crust tough instead of flaky.
- Chilling: If the dough isn’t chilled before rolling out, the fat can melt too quickly, causing the crust to crumble.
Why add vinegar to pie crust?
Adding vinegar to pie crust helps improve its texture by inhibiting gluten formation. Gluten makes dough tough, and vinegar helps tenderize it by limiting the amount of gluten that develops. Vinegar also helps the dough stay cold and more pliable, which aids in creating a flaky crust. It typically doesn’t affect the flavor when used in small amounts (usually about 1 teaspoon per cup of flour).
What is one thing you should not do when making pie crust?
Do not overwork the dough. Overmixing or handling the dough too much can warm up the fat and make the crust tough instead of tender and flaky. The goal is to keep the dough as cool as possible and to handle it gently. If you overwork it, you can lose the ideal texture for a good pie crust.
Conclusion: Mastering the Crisco Pie Crust Recipe
And really mastering the Crisco pie crust concept-it’s about technique and ingredients: understanding how they make it work, using cold materials, careful handling of the dough, and correct proportions, so that a flaky, tender, almost perfect, crust is produced for any pie filling. Be it for a sweet treat or a savory pie, this Crisco pie crust recipe has been proven time and again to get you good results. Before you know it, you will have a crust that looks as nice as the pie itself with a little practice.
Final Thoughts
So, there you have it—your ultimate Crisco pie crust recipe! It’s the perfect base for all your pie-making dreams, and it’s as easy as it is delicious. I honestly can’t wait for you to try this out. If you’re anything like me, you’ll be making pies for every occasion just so you can show off that golden, flaky crust!
Enjoy your homemade pie with a pecan cream pie or a delicious banana loaf today!